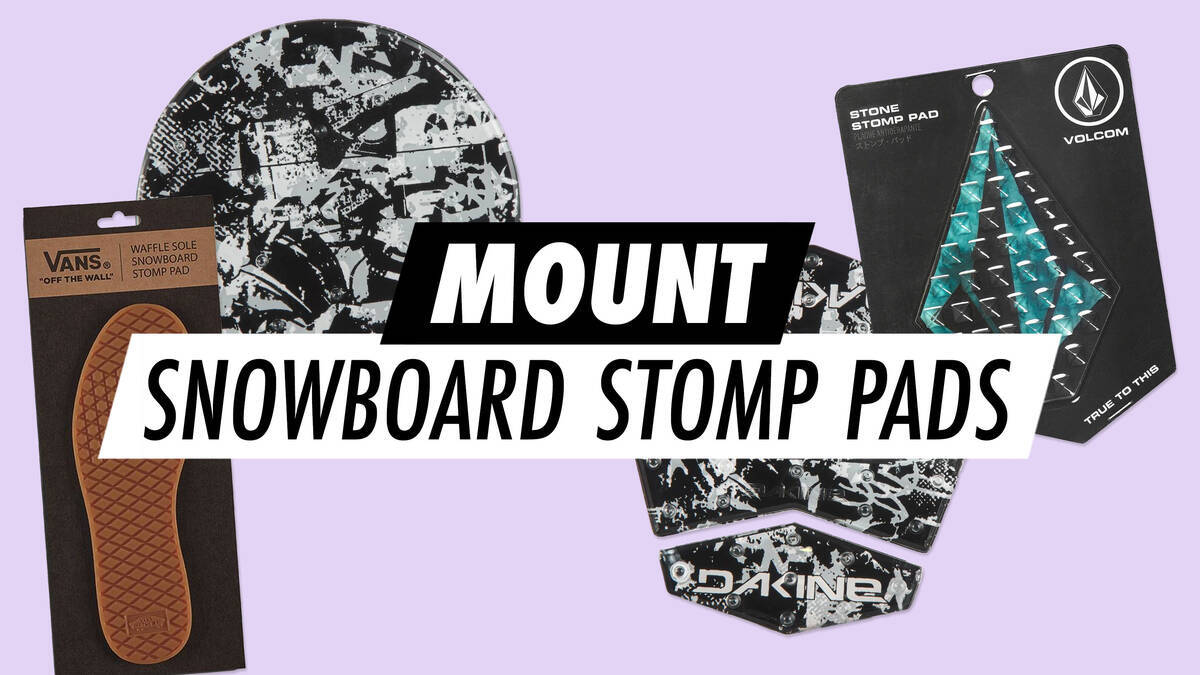
Steps for Attaching Snowboard Stomp Pads

Snowboard stomp pads enhance your control over the board when only one boot is secured, such as when boarding or alighting from a ski lift. When applying the pad, ensure you have alcohol and a hairdryer nearby.
The top of the snowboard is smooth, whereas a stomp pad features a textured design that helps grip the boot's sole. It is employed when your back foot is free from its binding, aiding you in gaining a better hold of the board with the boot. Typically, stomp pads are crafted from rubber, foam, knobs, or a combination thereof, and are situated in front of the rear foot – nestled between the bindings.
Guide to Fitting a Snowboard Stomp Pad
- The board and stomp pad need to be at room temperature (about 21 °C).
- Clean the snowboard surface using rubbing alcohol. Ensure it is left clean, smooth, and dry, and do not touch it afterwards.
- Employ a hairdryer on its highest setting to warm both the prepped snowboard surface and the adhesive of the stomp pad (always move the dryer to prevent any damage to the snowboard).
- Right after heating, place the stomp pad and apply firm pressure. Stand on it without turning – the heavier the weight, the better the bond.
- Let the stomp pad cure at room temperature for a full 24 hours.
If you have any uncertainties or queries, do not hesitate to contact us.
