Attaching a BMX Brake
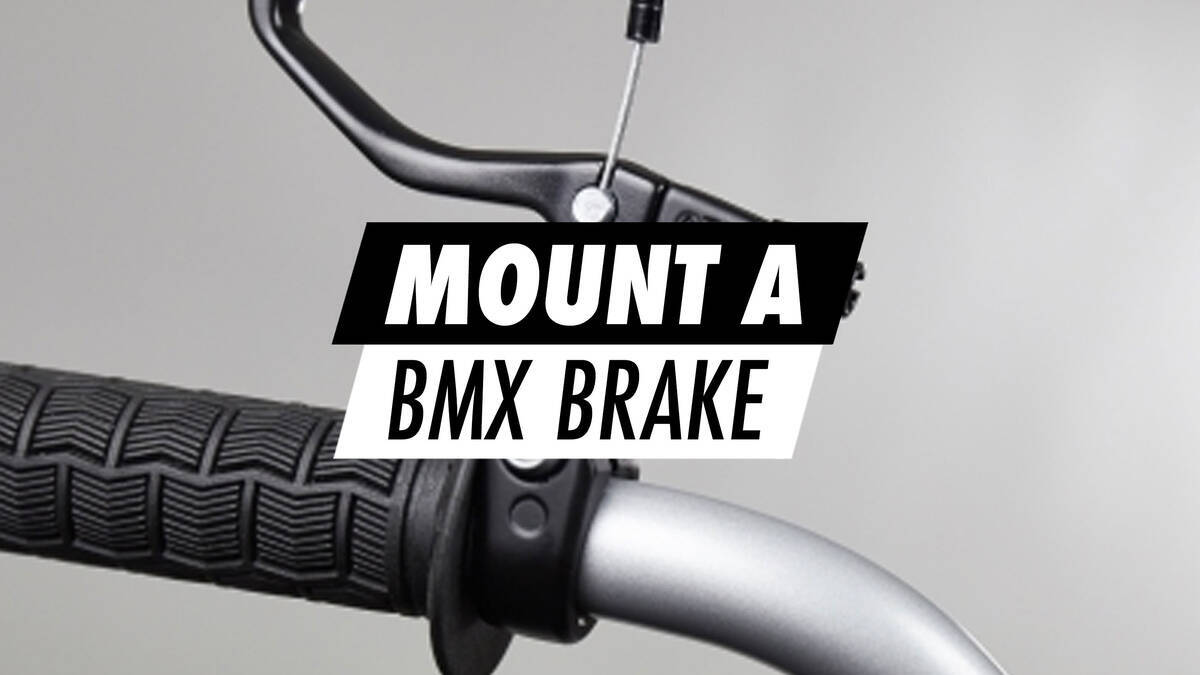
In this section, we will provide detailed instructions for attaching a BMX brake to a BMX bike, using the accompanying images for guidance.
1. Begin by inserting the long cable into the brake lever.
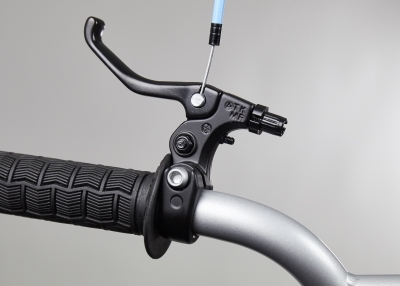
2. Rotate the cable adjuster until its three openings line up. Proceed by inserting the cable into the adjuster.
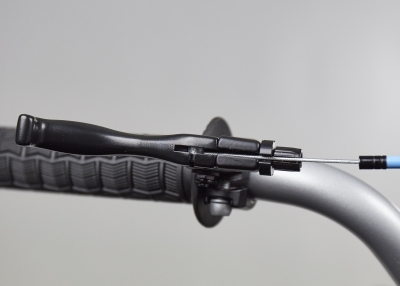
3. Seal the cable adjuster.
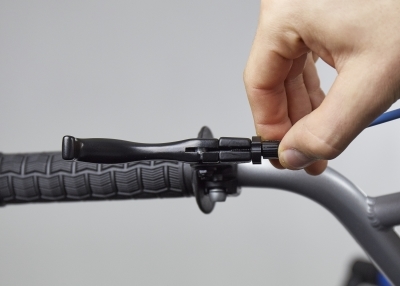
4. Direct the end of the cable into the cable guides located beneath the frame, ensuring it is positioned towards the back of the bike.
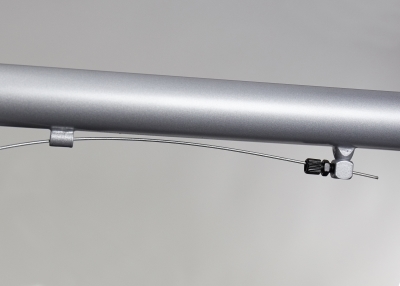
5. The configuration beneath the frame should resemble this.
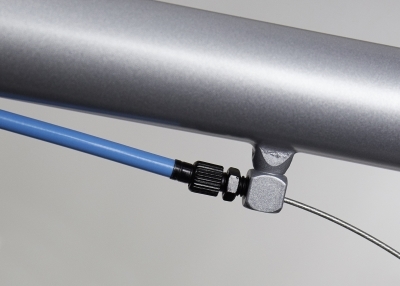
6. Proceed by attaching the short cable to the upper section of the brake arm.
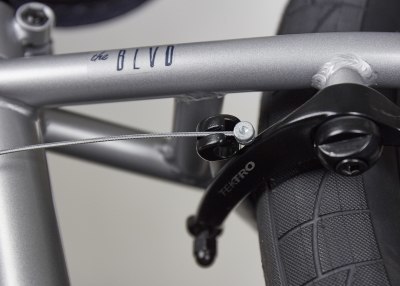
7. Route the cable around the seat tube.
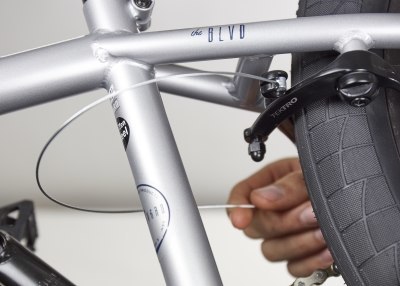
8. Subsequently, secure the end of the short cable onto the lower brake arm, ensuring the cable passes through the small aperture in the bolt affixed to the brake arm.
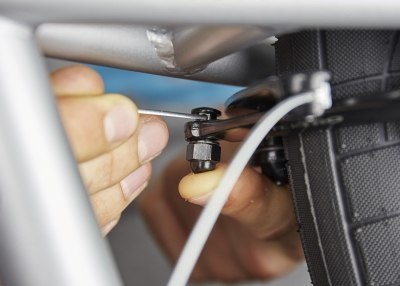
9. Using a 10mm spanner, secure the bolt on the brake arm so that the brake aligns with the image beneath.
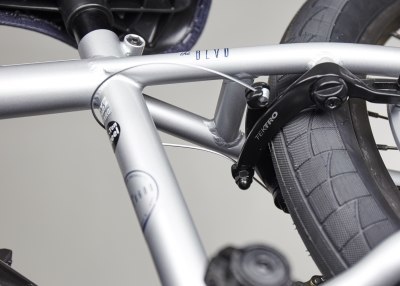
10. After this, attach the cable connector at the end of the long cable.

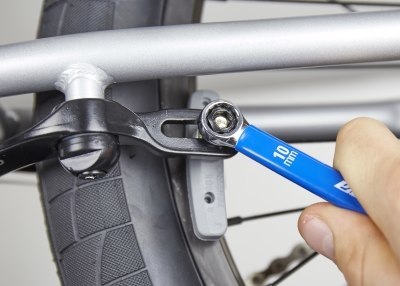
11. Fasten the cable and then secure the bolt on the cable connector with a 10mm spanner.
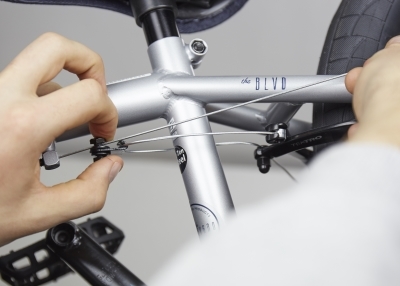
12. Adjust the brake pads to ensure their position aligns perfectly with the rim's edge.
13. If there is excessive cabling left, trim the cable accordingly.
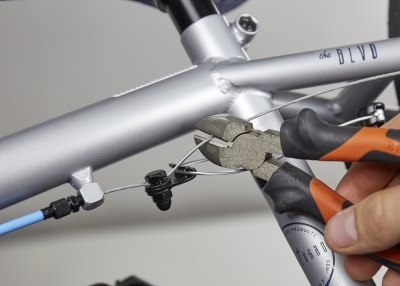
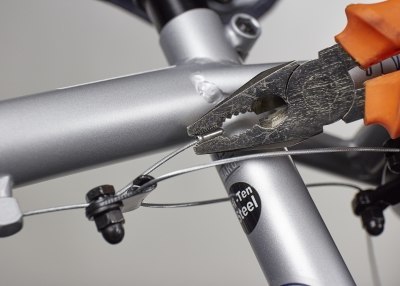
14. Finally, attach the cable ends, closing them securely on both cables using pliers.
If any uncertainties remain about attaching your BMX brake, feel free to contact us here.
